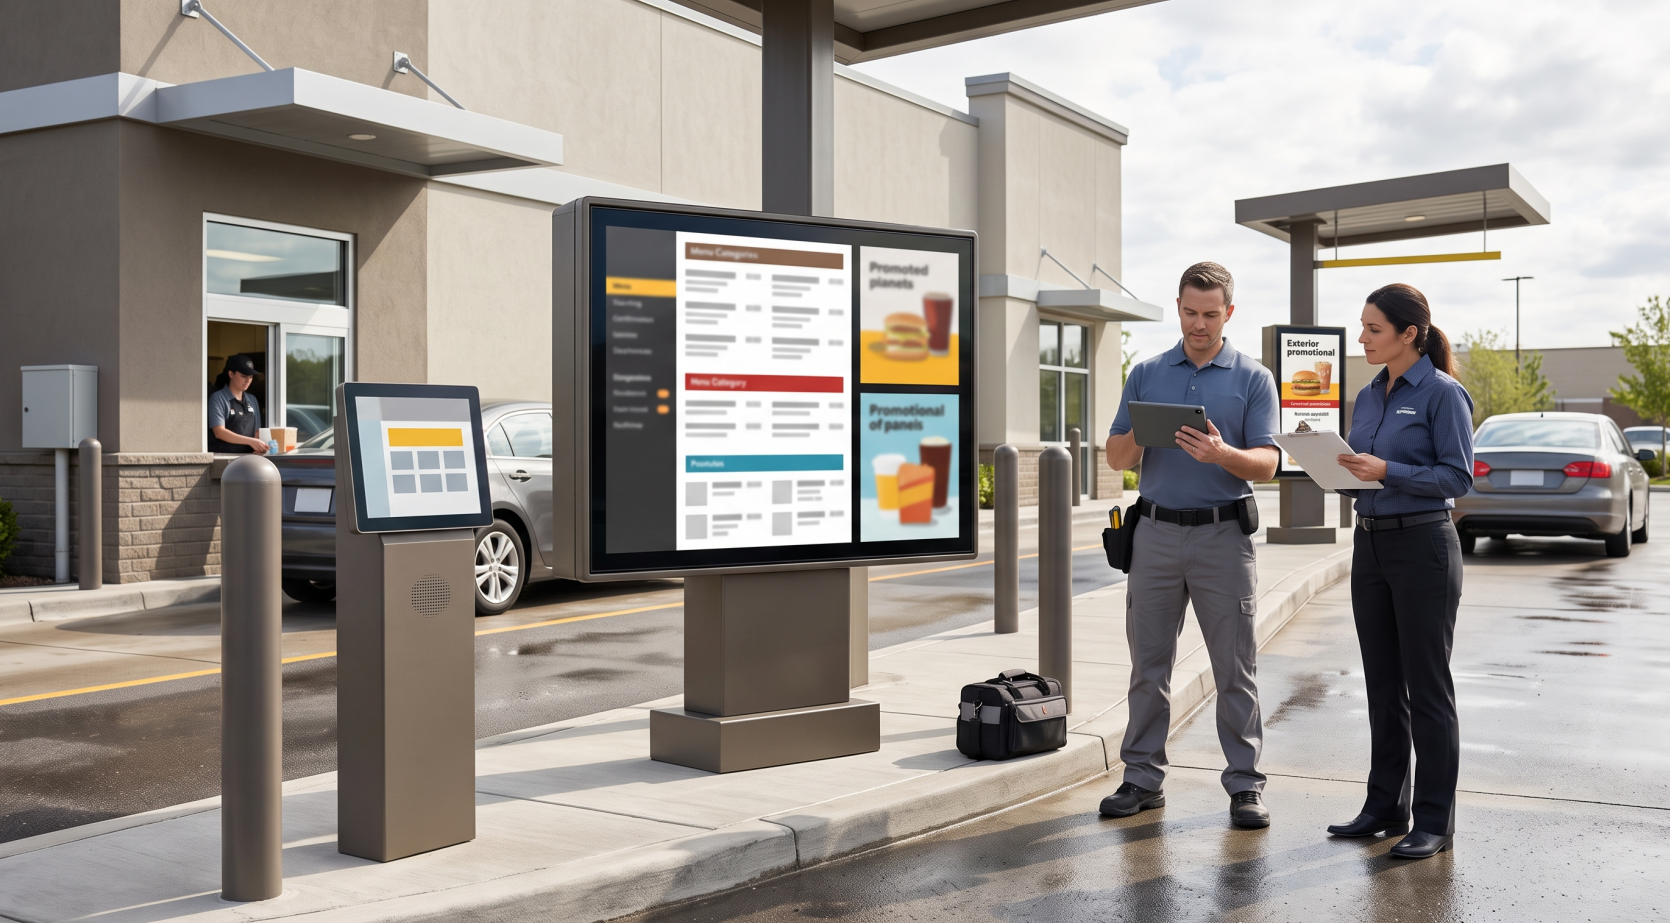
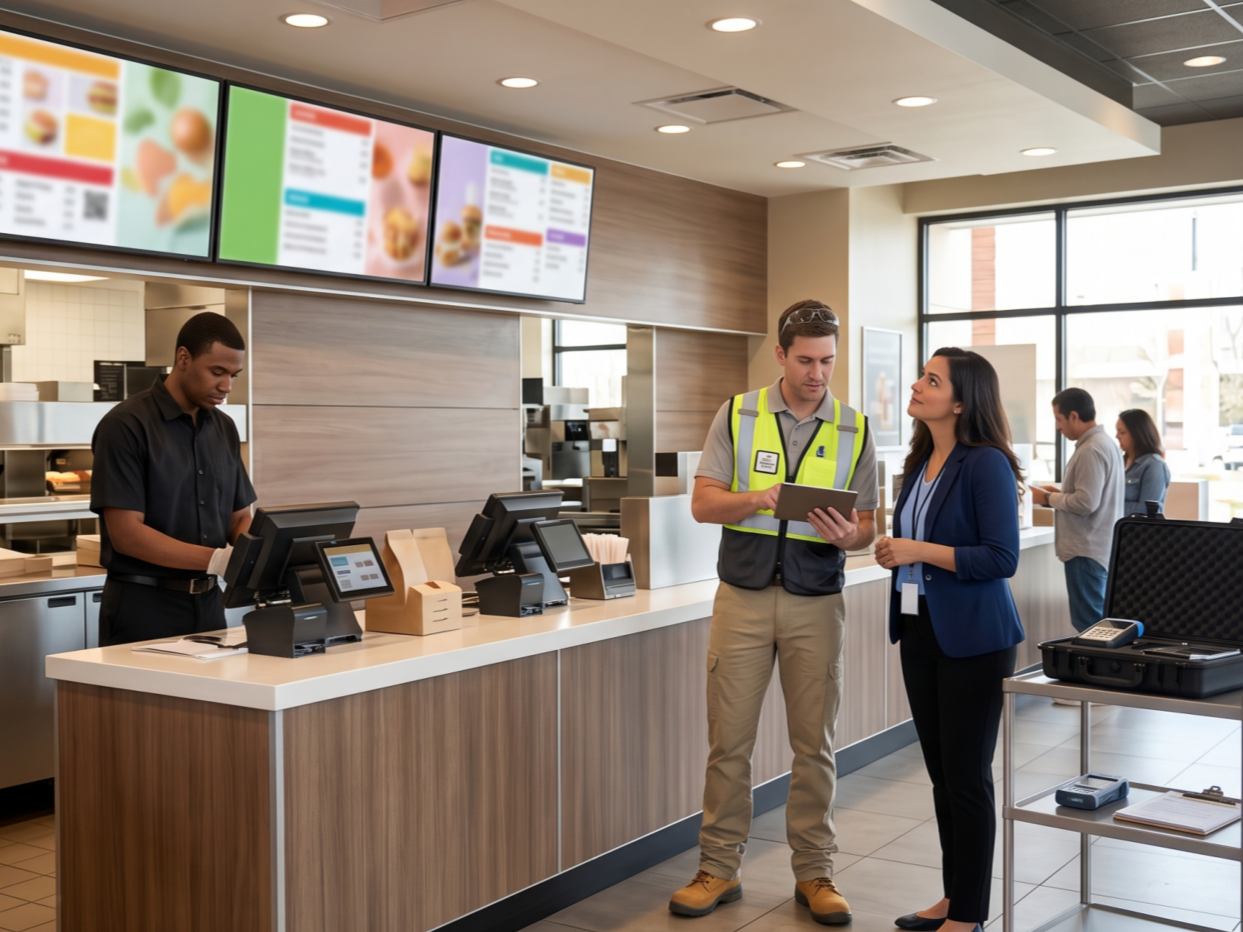
A printed menu board locks in your prices, items, and ingredients the moment it's laminated. Then, you're at the whim of shortages, specials, or seasonal changes to make sure your menus stay up to date and accurate for your customers.
Digital menu board installation solves that problem at the source. According to a report published by Kitcast on the State of Digital Signage 2026, digital menu boards are the highest adopted technology in the study at 82%.
Instead of laminated panels, screens display live digital menus that update from a central dashboard, whether the operation is one cafe or a national QSR chain spanning hundreds of locations. Prices adjust in seconds, breakfast menus disappear the moment lunch service begins, and a sold-out item comes off the board without anyone touching a ladder.
If your quick-service restaurant or brand is planning to update its digital signage (or install it to begin with), the last thing you want is an unsteady hand holding the reins. Secure mounting, appropriate wall-screen dimensions, seamless network connection, and media support should all be working in tandem the moment you switch on the power, otherwise you're in for more headaches down the road.
Kinettix deploys certified technicians nationwide to handle digital menu board installation from site survey through go-live, so every location shows the same menu, at the same time, without downtime.
7 Advantages of Dynamic Digital Menu Boards That Turn Browsers Into Buyers
No matter how well-designed your analog menu is, it's permanently locked to its original design. It can't react to changes in buyer intent or shift through multiple offerings and specials that might not fit all on one board.
A dynamic digital menu allows you to fully customize your displays and offerings whenever you need to, giving you ultimate flexibility over your customers' experience.
- Boosts Average Ticket Size Through Strategic Upselling
Positioning combo upgrades, add-ons, and premium sides where customers naturally look increases the odds they order more than they planned. Reported lift varies by chain and study, but a Networld Media Group Digital Menu Board ROI Study found a 3–5% increase in sales after digital menu board rollouts.
Digital menu boards make this kind of strategic placement easy to test and adjust without reprinting a single panel.
- Cuts Perceived Wait Times During Peak Rushes
High-res photography and subtle motion keep customers visually engaged while they wait in line, which makes the line feel shorter even when it isn't. This kind of dynamic content is especially valuable during the lunch rush, when every second of perceived delay affects customer patience.
- Enables Instant Price & Menu Updates Across Every Location
A price change, a sold-out item, or a new special can go live across every location within seconds through a connected content management system. There's no ladder, no reprint, and no gap between what's in the kitchen and what's on the screen.
- Automates Dayparting for Breakfast, Lunch & Dinner Transitions
Scheduled dayparts switch a breakfast menu to a lunch menu automatically at a set time, without anyone touching the screen. This removes the awkward moment of a customer ordering off a menu the kitchen has already moved past.
- Reinforces Brand Identity With Consistent Visual Storytelling
Logo placement, brand colors, and consistent templates carry across every screen, whether a customer visits one cafe or a location three states away. That consistency builds recognition in ways a mismatched stack of printed signs never can.
- Eliminates Ongoing Print & Reprint Costs
Printed menu panels need to be redesigned and reprinted every time a price or item changes, and those costs add up quickly across multiple locations. A digital menu board absorbs that cost into a single software update instead.
- Highlights Best-Sellers & Seasonal Items With Eye-Catching Motion
Animated call-outs draw the eye toward seasonal items, limited-time offers, and top sellers without requiring a customer to read the entire board. Used sparingly, motion directs attention exactly where it earns the most sales.
10 Menu Design Practices That Get Screen Size, Font & Flow Right the First Time
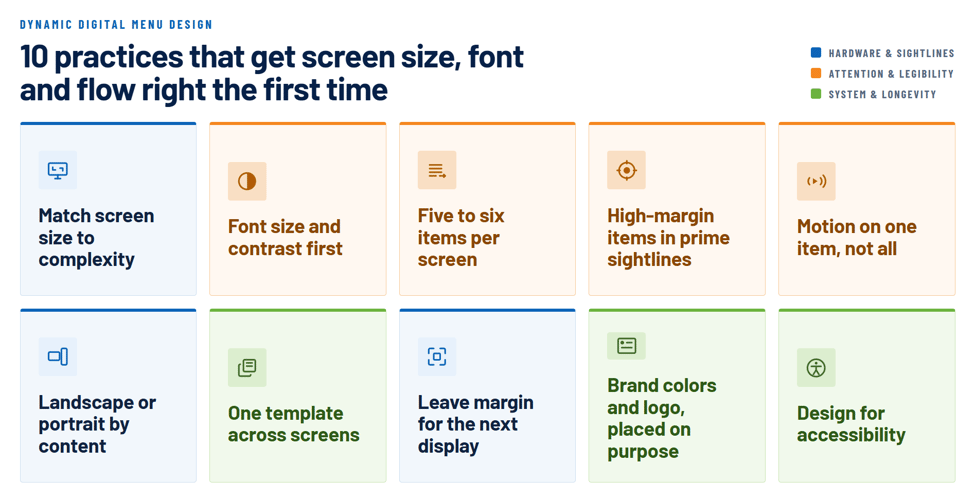
Even if you have menus that can be anything at any time, you still need to know what to display and how to capture your customers' attention. These strategies are our top recommendations for how to design a comprehensive and persuasive dynamic digital menu.
- Match Screen Size to Menu Complexity & Viewing Distance
A short drink menu read from three feet away needs a different screen size than a full QSR menu viewed from the drive-thru lane. Matching screen size to both content volume and typical viewing distance keeps every item legible without cramming the layout.
- Prioritize Font Size & Contrast for Fast Readability
A general rule ties font size to viewing distance, with larger type required as customers stand farther from the screen. High contrast between text and background matters just as much, since low-contrast combinations are difficult to read even at close range.
- Limit Items Per Screen to Avoid Decision Fatigue
Cramming an entire menu onto one screen slows down ordering and overwhelms customers trying to make a quick decision. Five to six items per screen keeps the board scannable and helps move the line during busy periods.
- Position High-Margin Items in Prime Sightlines
Customers tend to look at the same spots first, typically the center or top of a board, so high-margin items belong there. Placing an upgrade or add-on near the register prompt also increases the odds it gets added to the order.
- Use Motion Sparingly to Highlight, Not Overwhelm
Animated content draws attention effectively when it's used on one featured item or promotion, not across the entire board. Constant motion everywhere becomes visually exhausting and slows down a customer's ability to decide.
- Choose Landscape or Portrait Based on Content Type
Landscape orientation suits wider menu layouts with multiple categories, while portrait screens often work better for counter-service displays or drive-thru boards with vertical sightlines. The right orientation depends on the physical space and how customers approach the screen.
- Build Consistent Templates Across Multiple Screens
Reusing a single template structure across screens keeps formatting, spacing, and typography consistent without redesigning each board from scratch. This also speeds up future content updates since new items slot into an existing layout.
- Reserve Space for Future Screen Size Upgrades
Display sizes change over time, and a screen replaced a few years from now may not match the current model's exact dimensions. Leaving margin in the mounting plan prevents a future upgrade from turning into a wall repair project.
- Align Design With Brand Colors & Logo Placement
Logo and brand colors should appear consistently across every screen to reinforce recognition, not sit in a corner as an afterthought. Consistent branding also helps customers quickly identify which screen belongs to which part of a multi-concept location.
- Design for Accessibility, Not Just Aesthetics
Roughly 1 in 12 men and 1 in 200 women have some form of color vision deficiency, and a menu that leans on color alone to flag something critical, like a sold-out item or an allergen warning, will fail silently for a meaningful slice of customers. Pairing color cues with an icon, a label, or a strikethrough keeps that information legible for everyone reading the board.
Single-Site vs. Multi-Site Rollout Plan: How They Compare
The complexity of a digital menu board installation depends heavily on whether it's a single location or a coordinated rollout across dozens of sites. The table below breaks down what changes at each scale, from technician sourcing to project management.
|
Rollout Factor |
Single-Site Installation |
Multi-Site Rollout |
|
Project Scope |
One location, one screen configuration, straightforward sign-off |
Dozens to hundreds of locations requiring unified scheduling and coordination |
|
Technician Sourcing |
A single certified technician or small team |
A vetted, geographically distributed technician network sourced and scheduled in parallel |
|
Equipment & Media Player Logistics |
Direct shipment to one address, minimal tracking |
Coordinated shipping, staging, and inventory management across every site |
|
Content & Template Standardization |
Custom design for one screen size and layout |
Standardized templates adapted per screen size while preserving brand consistency |
|
Installation Timeline |
Typically completed in a single visit |
Phased, simultaneous, or sequenced installations synced to a master project timeline |
|
Network & Connectivity Setup |
One network configuration to test and validate |
Individual network validation at every site, often on tight, brand-mandated windows |
|
Quality Consistency |
Easy to control with direct oversight |
Requires documented protocols, checkpoints, and photo validation to guarantee uniformity |
|
Project Management |
Minimal coordination required |
Dedicated project manager with centralized visibility across every location |
|
Cost Structure |
Lower overall cost, priced per site |
Volume-based pricing with efficiencies of scale across the full rollout |
|
Best For |
Independent restaurants or single storefronts |
QSR chains, franchise networks & multi-location enterprise brands |
Ready to Put Certified Hands on Your Next Screen Rollout?
A single new location and a hundred-site rollout both get the same disciplined process at Kinettix: the scale changes, the standard doesn't. Kinettix specializes in a curated web of certified technicians and equipment manufacturers that provides you the skill and experience to keep your digital menu board installation running smoothly.
Our team handles the logistics behind every screen, from VESA mounting specs to network validation, so nothing gets left to guesswork. Reach out now to talk through your rollout timeline and get a scoped plan built around your locations.
Digital Menu Board Installation Journey: 8 Steps From Site Survey to Go-Live
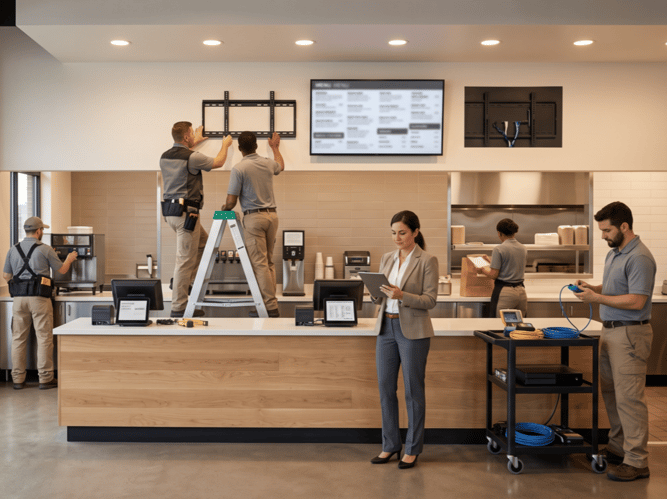
The proper process for a digital menu installation is well documented and begins well before you're bolting anything to the wall. This list will take you through every step of the process to make sure you never need to double back or start over from the beginning:
- Site Survey & Readiness Check
A technician evaluates the installation space, measures available wall or mounting area, and confirms power and network access before any equipment ships. This step catches structural or connectivity issues early, when they're still easy to resolve.
- Match VESA Mounting Patterns to Screen Specifications
Screens follow standardized VESA hole patterns that determine which mounts are compatible, and mismatched patterns lead to unstable installs. Confirming the correct pattern and mount before installation day avoids a wasted trip.
- Schedule Installation During Off-Peak Business Hours
Installation work is scheduled around business hours to avoid disrupting customer service or kitchen operations. Off-peak scheduling gives technicians the space and time needed for careful, unhurried mounting and testing.
- Confirm Wall or Ceiling Structural Support Before Drilling
Every mounting surface needs to support the weight of the screen and bracket long-term, not just on installation day. Technicians locate studs or confirm ceiling support ratings before a single hole gets drilled.
- Route Power & Data Lines Before Final Mounting
Power and network cabling need a clear path to the screen location before the final mount goes up, ideally concealed for a clean look. Running these lines first prevents having to remove a mounted screen later to fix a cabling gap.
- Position Screens at Optimal Customer Eye Level
Screen height directly affects readability, and a board mounted too high or too low forces customers to strain to read it. Technicians position each screen at a height calibrated to the typical customer sightline for that specific space.
- Verify Ventilation & Clearance to Prevent Overheating
Commercial-grade screens running long hours generate heat that needs somewhere to go, especially in recessed or built-in installations. Confirming proper clearance and ventilation before final mounting protects the screen's lifespan.
- Test Content, Confirm CMS Connection, & Get Sign-Off
Once installation is complete, run verification checks to ensure all content looks up to specification, confirm your CMS connection, and acquire final approval from any supervisors.
What Delays a Digital Menu Board Installation? (& How to Avoid It)
The vast majority of delays in an installation process are entirely predictable and easily preventable if you know what to look for. Faulty equipment that slipped through inspection, mis-measured mounting locations, and insufficient digital connectivity can all result in setbacks that could have been avoided with more deliberate oversight.
Weather delays outdoor-rated installs more often than indoor ones, particularly for drive-thru boards mounted on exterior structures. Missing site access, whether a locked door or an unavailable manager, stalls a scheduled visit just as easily as a technical issue does.
The fix in almost every case is the same: a thorough site survey completed well before installation day, paired with a readiness check confirming equipment, access, and connectivity are all in place 24 to 48 hours ahead of the scheduled visit.
This is especially vital if your rollout is taking place across numerous locations. Poor coordination results in errors spreading across your entire organization, but if all the proper procedures are undertaken, a customer will receive the ideal experience no matter which location they walk into.
DIY vs. Professional Installation: What a Multi-Screen Rollout Actually Requires
Depending on the scale of your business, you may be able to handle a handful of digital screens in-house if you have a skilled operator on call, but as the number of screens and the number of locations grows, the ability to synchronously manage digital installation and upkeep quickly grows out of hand. Here's a rundown on how to tell which approach would work best in your circumstance:
|
Installation Factor |
DIY Installation |
Professional Installation |
|
Mounting & Structural Assessment |
Self-assessed wall/ceiling support, higher risk of error |
Verified structural evaluation using proper stud finders, VESA matching & load ratings |
|
Limited to internal staff or a single hired contractor |
Certified technician network available across every location simultaneously |
|
|
Liability & Insurance Coverage |
Business assumes full liability for injury or equipment damage |
Contractor-provided liability insurance protects against installation-related incidents |
|
Electrical & Power Routing |
Requires separately hiring a licensed electrician |
Coordinated electrical work included as part of the installation scope |
|
Network & Media Player Configuration |
Manual setup with trial-and-error troubleshooting |
Professionally configured connectivity, tested before sign-off |
|
Consistency Across Multiple Screens |
Varies by location and installer skill level |
Standardized protocols ensure identical setup at every site |
|
Timeline for Multi-Site Rollouts |
Sequential, one location at a time |
Coordinated, simultaneous installations across a master schedule |
|
Quality Assurance & Documentation |
No formal validation process |
Photo documentation, functionality testing & sign-off at every site |
|
Time Investment |
Significant hours pulled from core business operations |
Fully outsourced, freeing internal teams to focus elsewhere |
|
Best For |
A single low-complexity screen with in-house technical comfort |
QSR chains, franchise networks & multi-location rollouts of any scale |
Sunlight, Storms & Nit Counts: Indoor vs. Outdoor Menu Board Realities
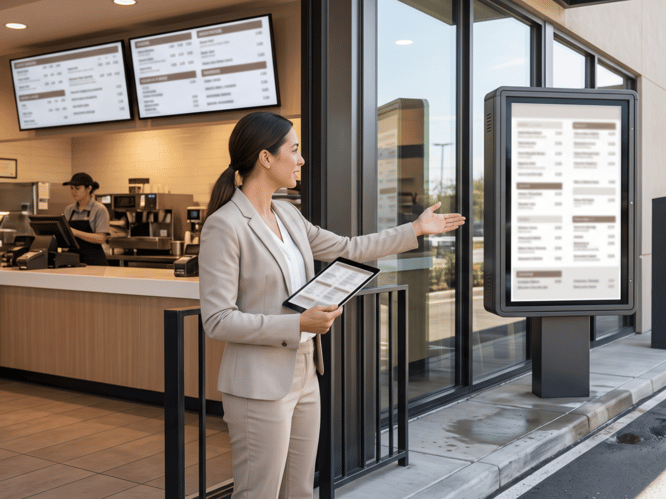
While they might display similar or even identical content, an indoor and outdoor screen are entirely different in upkeep and functionality.
- Indoor screens typically run in the 250 to 350 nit range, which is plenty of brightness for a dining room or counter-service line shielded from direct sunlight.
- Outdoor and drive-thru boards need substantially more. Direct sunlight washes out a standard screen from a few feet away, which is why outdoor-rated displays typically start at 1,500 nits and often run higher for full sunlight readability.
- Enclosures also need an IP65 rating (the international standard for dust and water resistance, per IEC 60529) or better to withstand rain, dust, and temperature swings that indoor hardware was never designed to handle.
On top of this, temperature is also a significant consideration. A consumer-grade screen rated for standard indoor conditions is perfectly fine to operate at room temperature and may be resilient against a few degrees up or down, but will likely malfunction below freezing or from triple digit temperatures. Outdoor technology, however, is designed to accommodate such conditions. Getting this distinction right during planning prevents replacing a screen within its first year of use.
How Kinettix Managed A Quick Service Retail Deployment Across The Globe: Case Study
A digital merchandising solutions provider with offices in six countries needed a reliable partner to keep drive-thru menu boards running for its client, a global fast food chain, across quick-service restaurant locations throughout the U.S. Requests came in unpredictably, and every dispatch required both an IT field technician and a licensed electrician working together on-site.
The Channel Partner needed infrastructure that could receive, coordinate, and resolve these requests quickly, with minimal downtime at each location and a single point of accountability managing the resources behind every visit. Kinettix built that infrastructure around its Dispatch1 platform.
Here's how the plan, execution, and results played out across an ongoing dispatch relationship that has scaled significantly since it began.
|
Plan |
Execution |
Results |
|
Centralized Intake Through Dispatch1 Every request flows through Kinettix's proprietary Dispatch1 platform for tracking and confirmation. |
Equipment Staged Before Every Dispatch Parts and equipment are sourced and confirmed on-site before the technician arrives. |
Weekly Dispatches Grew From 5–6 to 20+ Consistent results and fast response times drove steady volume growth. |
|
Dual-Crew Sourcing: Technicians & Electricians Every dispatch pairs an IT field technician with a licensed electrician. |
Crews Briefed Before Reaching the Site Technicians and electricians receive scope and site details in advance. |
Became Kinettix's Largest Dispatch Relationship Hundreds of successful visits built the trust behind this growth. |
|
A Dedicated Coordinator Owns Every Detail One coordinator manages scheduling, logistics, and communication end-to-end. |
Weather Monitored & Dispatches Rescheduled Conditions are tracked proactively to protect safety and quality. |
Salesforce Integration Now Under Exploration The partner is evaluating a direct Dispatch1-Salesforce integration. |
7 Screen, Software & Media Player Questions Every Operator Asks
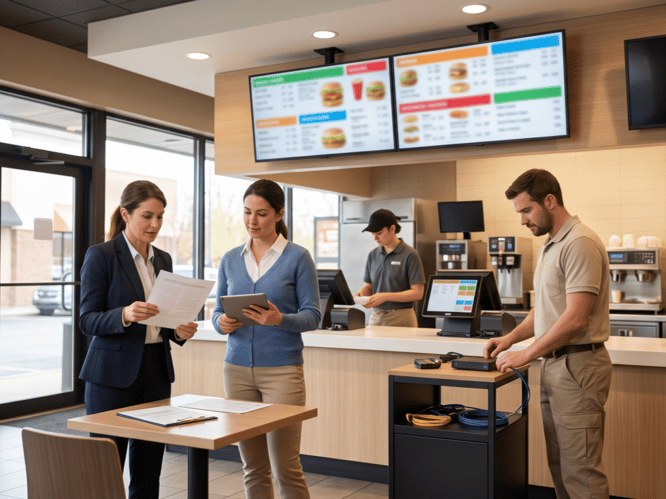
Every digital menu board installation raises a similar set of practical questions about hardware, software, and what happens after the technician leaves. Here's what quick-service and multi-location operators most often want to know before signing off on a project.
- What Software or CMS Do You Need to Run a Digital Menu Board?
Any digital menu board needs a content management system to schedule updates, manage templates, and push content to every connected screen remotely. Kinettix coordinates with your chosen digital signage software during installation to confirm every screen and media player connects correctly before go-live.
- How Long Does a Typical Digital Menu Board Installation Take?
A single screen typically takes one to two hours to mount, configure, and test, depending on structural conditions and network setup. Multi-location rollouts run on a coordinated project timeline, with simultaneous installations across sites rather than one sequential visit after another.
- Can Digital Menu Boards Integrate With Our Existing POS System?
Many digital signage platforms support integration with POS systems to automatically reflect sold-out items or pricing changes on the menu board. Confirming this compatibility during planning ensures the installation accounts for any additional configuration the integration requires.
- What Network & Connectivity Requirements Should We Prepare For?
Each screen needs a stable internet connection, ideally wired rather than relying solely on WiFi, to reliably receive content updates from the CMS. Confirming outlet placement, router capacity, and network credentials ahead of installation day prevents delays once technicians arrive on-site.
- What Ongoing Support Is Available After Installation?
Kinettix provides post-installation support to troubleshoot connectivity issues, coordinate repairs, and manage hardware replacements across every installed location. This support extends well beyond the initial go-live date, covering the full lifecycle of the installed screens.
- Can You Turn Your Existing TVs Into Digital Menu Boards?
Many existing TVs, including smart TVs and standard displays, can run digital signage software with the addition of a compatible media player. A site survey during planning confirms whether existing hardware meets the brightness, connectivity, and durability requirements for the intended location.
- How Much Does Digital Menu Board Installation Cost?
Installation costs vary based on screen count, mounting complexity, indoor versus outdoor requirements, and the number of locations included in the rollout. A scoped assessment based on your specific sites provides a more accurate figure than a generic per-screen estimate.
Partner With a Team That Keeps Every Location Running the Same Menu, the Same Day
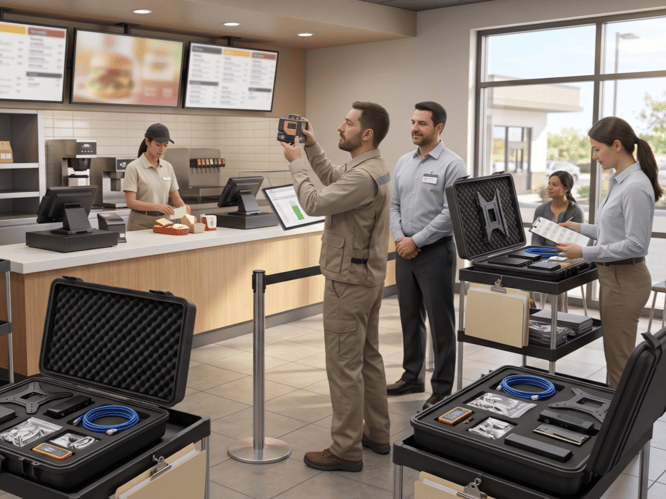
A digital menu board installation succeeds or fails on details that rarely make it into a project brief: the right VESA mount, a stable network connection, the correct nit rating for the sun exposure at a specific drive-thru lane.
Kinettix handles those details across every location in a rollout, from a single cafe to a national QSR chain spanning hundreds of sites. Our certified technician network and Dispatch1 platform keep every installation documented, tracked, and consistent regardless of geography.
A single new location and a hundred-site franchise rollout both deserve the same disciplined process, from site survey through final sign-off. Our team manages the scheduling, equipment logistics, and testing so every screen goes live on time and matches brand standards across the board.
Contact us today to scope your next digital menu board installation and get a project timeline built around your specific locations.